How To Upload Website via FTP with Dreamweaver
We get this question from time to time, and this post will quickly overview the process of uploading your website via FTP with Dreamweaver. Dreamweaver has a built in FTP program directly into the IDE. There are just a couple of steps you need to take in order to get your website uploaded.
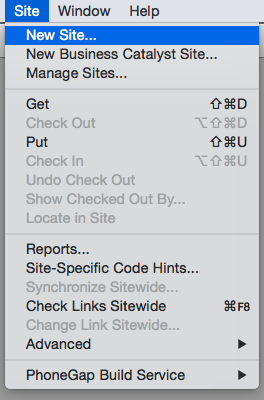
Step 1
First, you’ll need to create a new “Site Definition” inside of Dreamweaver. This is done by heading to the ‘Site’ Menu and selecting ‘New Site’ as shown below:
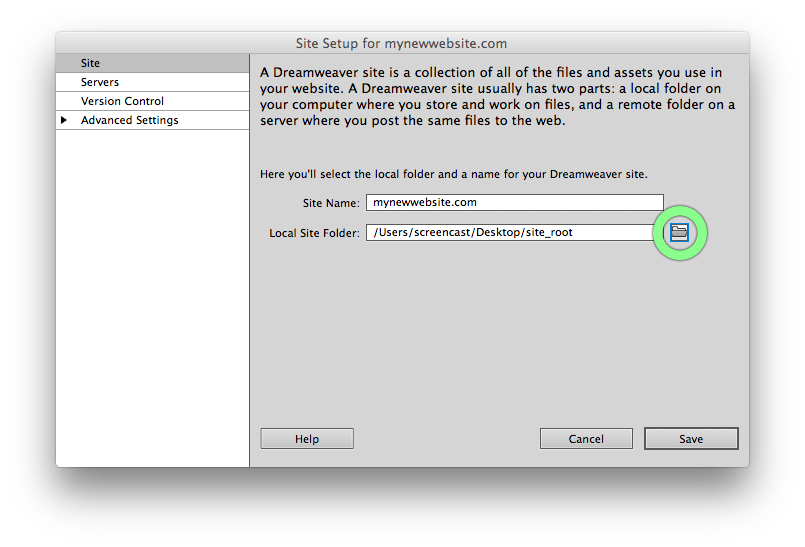
Step 2
Next, you’ll need to name your site, and tell Dreamweaver where your local ‘site root’ folder is like so:
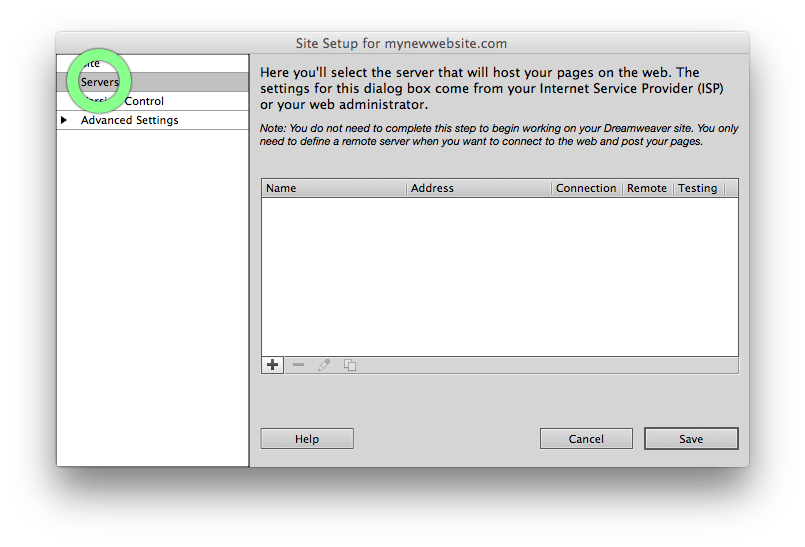
Step 3
Next we’ll select the ‘Servers’ tab to input the required FTP credentials in order to connect to the web host, and upload our files:
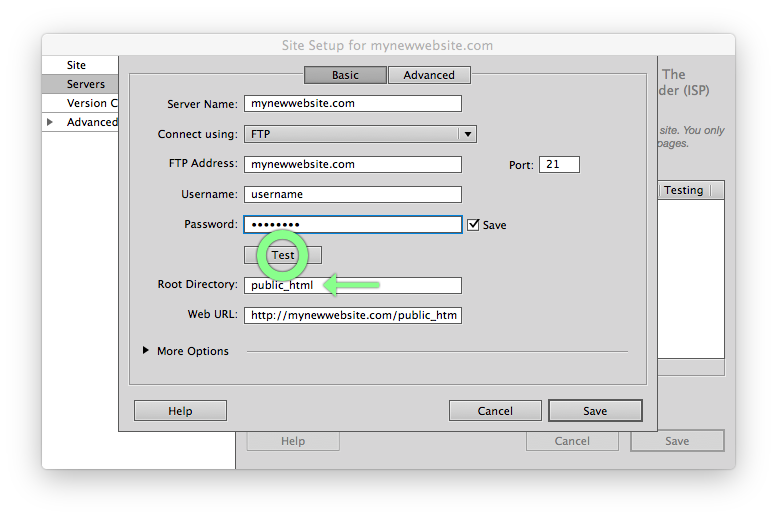
Step 4
Click the “+” (plus) button and add the required FTP credentials (check welcome email for FTP credentials). Note: it is important the the ‘root directly’ setting is set to ‘public_html’.
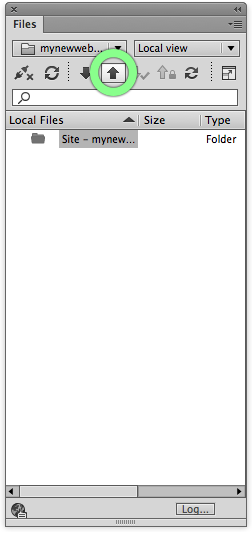
Step 5
Finally, you select your site root folder from the ‘Files’ panel, and select the upward pointing arrow to ‘upload’ your site to your live domain name. Once all of the files have been uploaded, you can check your domain to ensure everything is working as expected. Remember that your ‘homepage’ filename must be ‘index.html’ or else you won’t see anything when your navigate to your domain name.