You can upload your website files to your hosting account via a mechanism known as "FTP", which stands for file transfer protocol.
Step 1 - Create an FTP Account
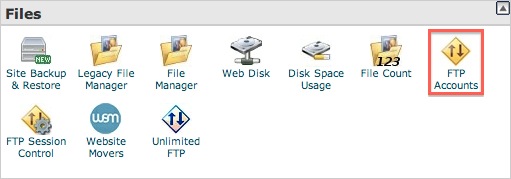
If you don't already have an FTP account, you will need to create one via the "FTP Accounts" cPanel module. Note that FTP account logins are separate from you cPanel login.
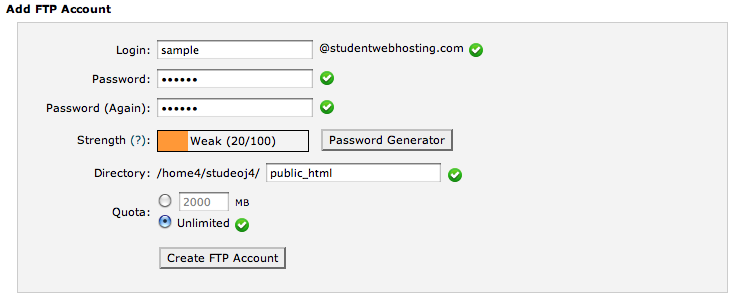
- You upload your website into the 'public_html' directory of your hosting account. Often times it is easier to set 'pulic_html' as the root directly for a FTP account as shown in the example above. This makes it so website files will automatically be transferred to the proper public_html directory when uploading via FTP.
- Your username is the full name with the @domain.com. (As shown in the example the FTP username created would be "sample@studentwebhosting.com"
Step 2 - Connecting & Uploading Website Files
In general the following settings are required for most FTP programs in order to connect and upload your website files
Hostname: Your Domain name or IP Address
Username: ftpusername@domain.com
Password: ftppassword
Port: (Usually port 21)
- Note: This information is given when setting up a new FTP account, a default user was created as you signed up and was emailed with your sign up email.
- Remember to upload your files into the public_html directory. It may be easier to create a new FTP account as outline in step 1, and set 'public_html' as the default ftp login directory.
You can use many different programs to upload your website files from your computer to your webhost. Below is a list of several programs on different platforms
Windows
Mac
Linux Based
Step 3 - Test Live Website
Navigate to your domain name and test your website.
- Note, your web directory has several default files installed. Replace the "default.html" with your own default.html page or place a file called "index.html" in the same directory, which will become your homepage.
- Unless your using wordpress or another custom system, your homepage file must be named index.html or default.html